
Subscriber is the communication recipient and a part of a subscriber list. Subscriber list is needed, as it contains list of email addresses or/and phone numbers to which messages will be sent.
Click Here and watch Creating Subscriber List video tutorial
You can create a subscriber list via Subscribers tab or simply by pressing “+Subscriber List” button in the Dashboard. The window, allowing you to create a new subscriber list, will open up:
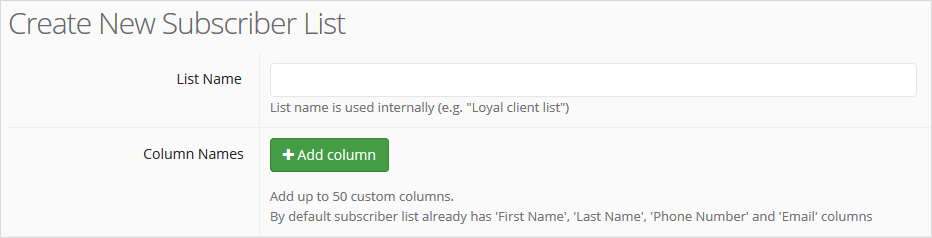
- Enter a name for the new subscriber list.
- You can also add up to 50 additional columns for your subscriber list (default four columns are ‘First Name’, ‘Last Name’, ‘Phone Number’, and ‘Email’). Note that you later can use these parameters to be automatically filled in with your subscribers’ information to personalize your message when creating and sending your campaign.
- Check default information of the list and edit it as required.
Default campaign information for a subscriber list
All the fields displayed here contain default campaign information and are mandatory to fill in. If your address does not have a zip code, simply enter character ‘ – ‘ instead in the zip code field.
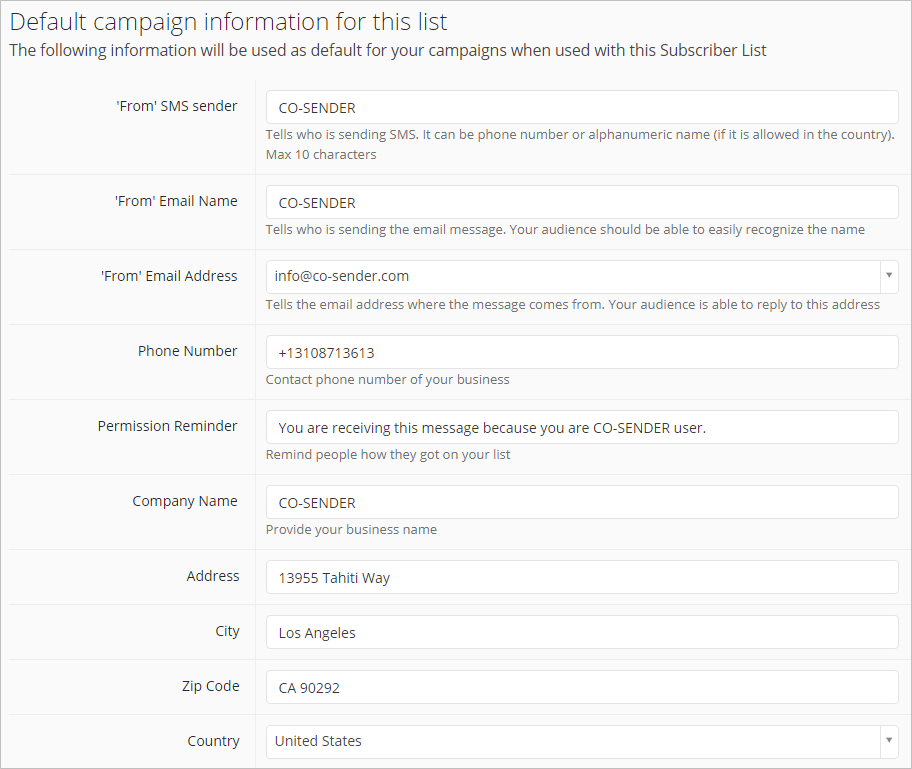
Note that the field “Permission Reminder” is a little notice in your email campaigns that helps your recipients to remember how you got their email addresses. In some cases, it can help prevent you from getting reported or blacklisted as a spammer.
After finished creating your subscriber list, you can start adding actual subscribers to your list manually or simply import them straight from your subscriber data file.
If you ever would need to edit default information for any of your subscriber lists, simply go to the subscriber list, scroll down where the default list information is stored, and click “Edit” icon on the top right.
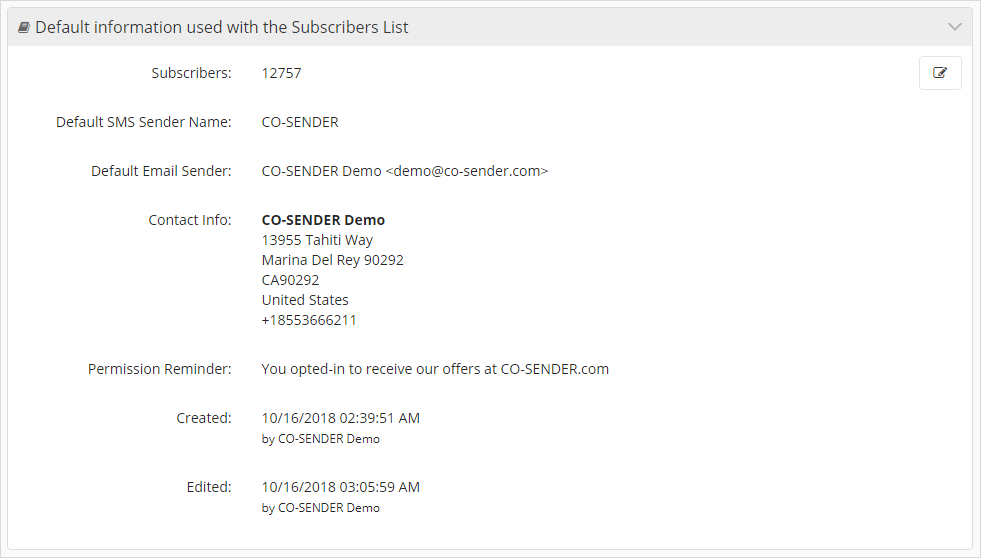
Don’t forget to save your changes after editing default list information!