
When designing your Campaign, you may find yourself needing to insert some images and, consequently, also perform some image editing. For this task you don’t have to look any further than CO-SENDER’s built-in Photo Editor. The Photo Editor has quite a few very handy image editing tools, such as image cropping, changing image orientation, photo filters, text overlays, and other useful tools.
Click Here and watch Using Content Designer video tutorial
- To edit an image, click on “Edit” icon on a chosen content block in Content Designer:
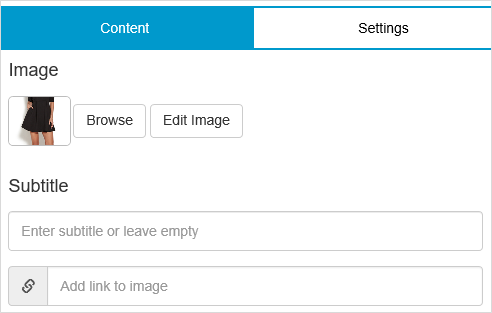
- To upload and/or select an image from Image Gallery, click the “Browse” button in the editing pane on the right. Alternatively, if you are using a pre-designed template with images, go directly to “Edit Image” button.
- Now the Photo Editor window opens up where you can start editing the image. Select any of the editing tools by clicking on the icons at the top of the window.
- Apply as many tools as needed and then save the changes. That’s it!


Note that for your convenience, both, the original and edited, versions of the images will be saved in Image Gallery!