
Click Here and watch Using Content Designer video tutorial
You can design your Campaign content via Content Designer, during the third step of Campaign creation. The step is intuitively named “Content”. You will find many pre-designed templates and themes that can be used as the basis of your campaign content.
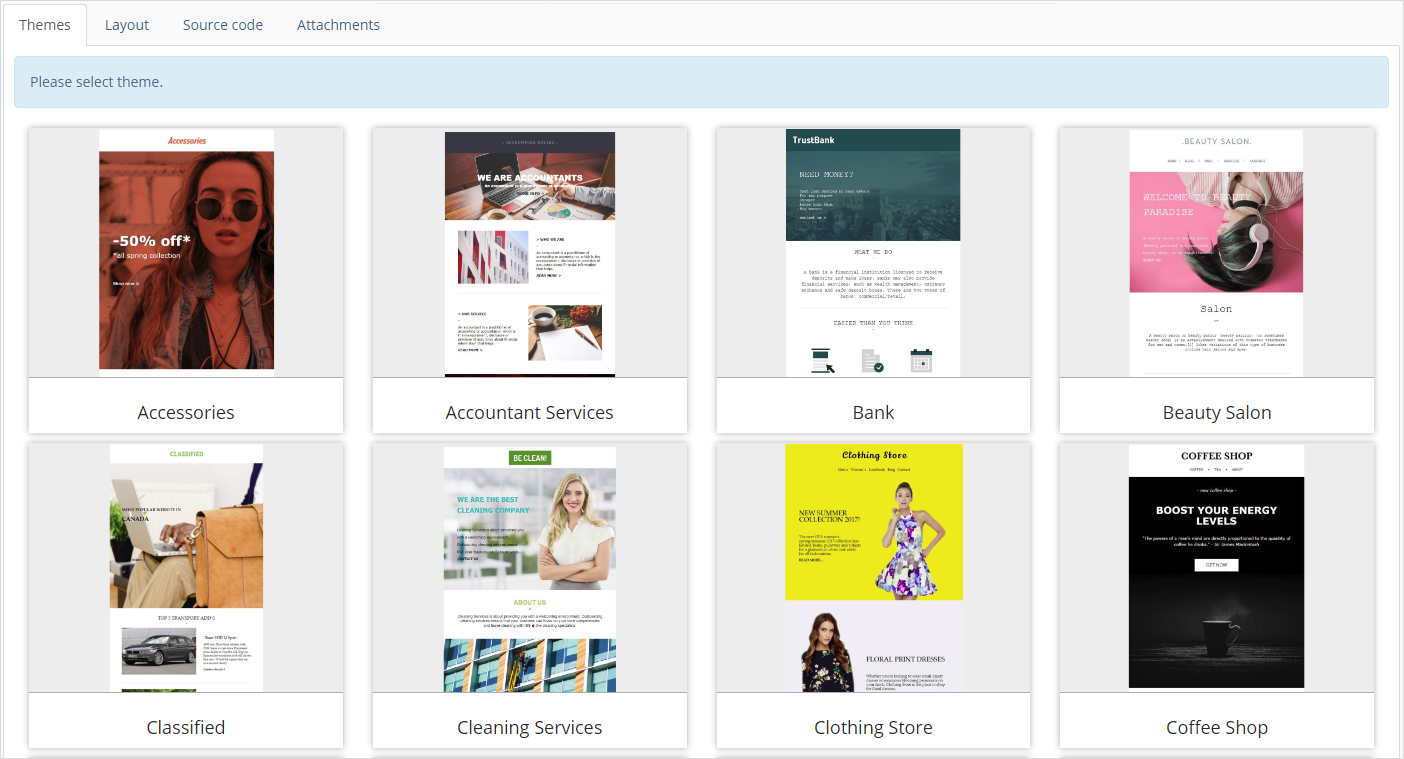
- “Themes” are templates with pre-maid designs that you can edit and customize further as you wish.
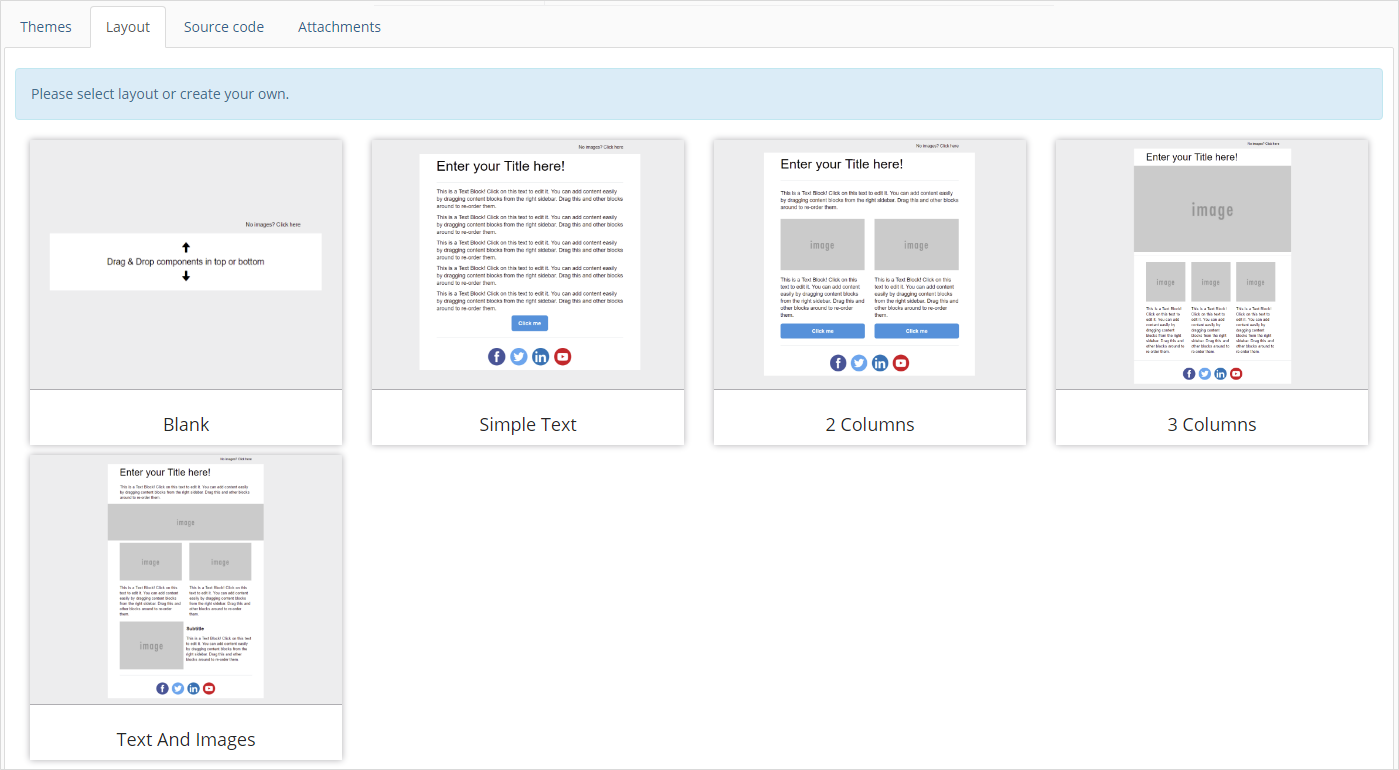
- “Layout” templates have only basic preset designs that are fully customizable for even more flexibility. There is also “Blank” template that you can use if you want to design all content of your message from the ground up.
- “Source code” template allows you to upload HTML from your file or get HTML source code from any URL, and edit it afterwards to design content for your campaign.
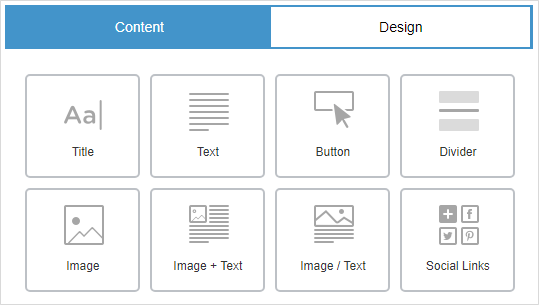
After you selected your template, Content Designer window will open up. You will see all the design elements you can insert into campaign content and their settings on the right side of your screen.
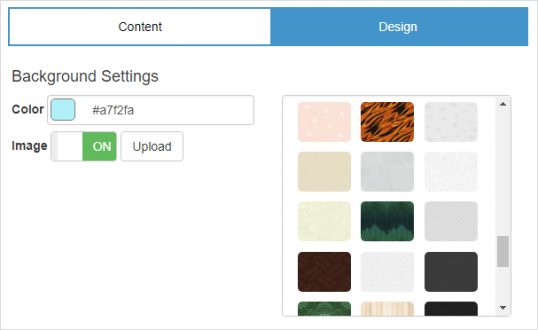
If you want to add a background for your campaign, click on “Design” and select a color you want with the color picker, a pre-designed background pattern, or simply upload an image of your choice.
To insert any content element (Title, Text, Button, Image etc.), select “Content” and drag and drop the element onto content you are designing.
When you insert a design element, it looks like this:
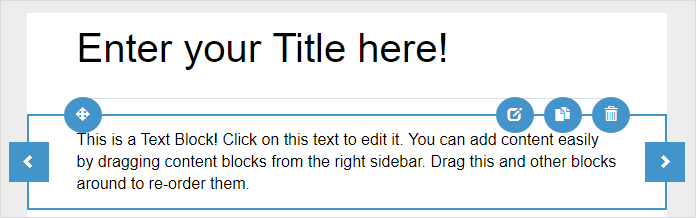
When clicked on an element, the functional buttons are visible that you can use to:
- change the element placement position,
- edit selected element,
- duplicate the element,
- delete the element.
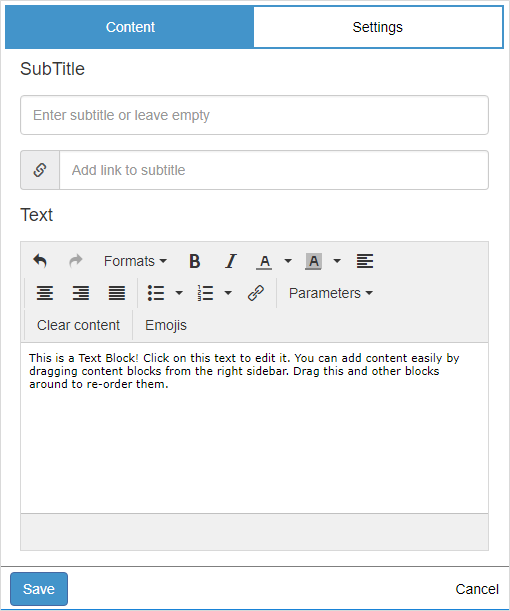
Every design element has its own editing window where you can tweak its parameters. The picture bellow shows editing window of the “text” design element:
- Content;
- Settings.

- “General” options allow you to change things such as the background color.
- “Settings” provide options to change the picture padding.
- “Content” options allow you to insert a link which will be opened when the picture is clicked on. You can also insert the link to the picture in the “image source” field and change its size.
- “Parameters” allow you to insert the parameters you want to be automatically filled in with your subscribers’ information to personalize the message when sending your campaign.
- To apply your changes press “Apply and close”.
Click Here and watch Personalized Messages video tutorial
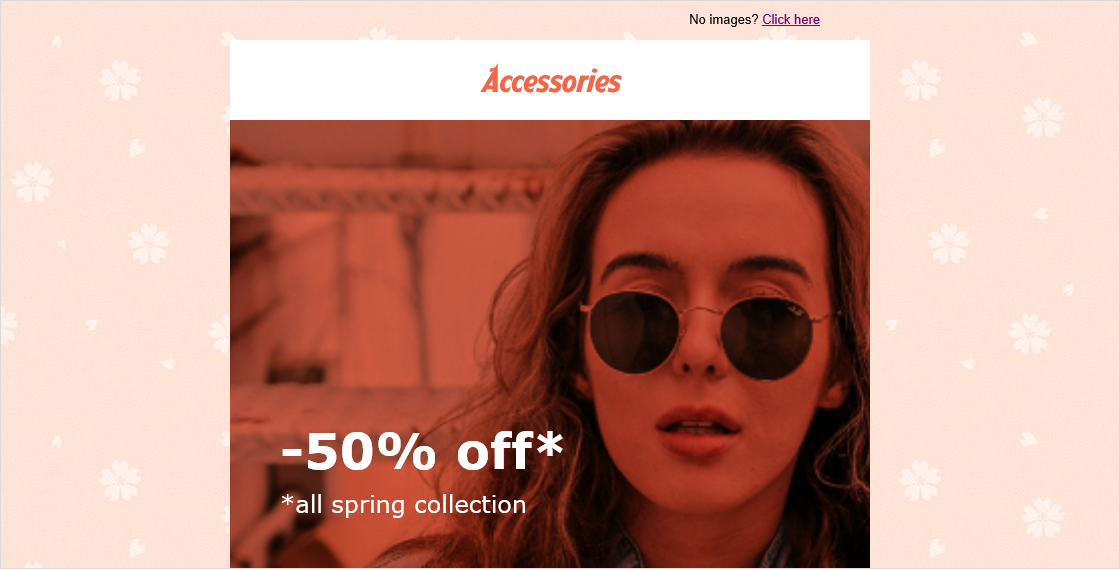
You can also upload and edit images that you will be using when creating content. When you are done editing, you can review your template in the “Preview” window. Do not forget to save your work.

If you wrote an article about life we’d all reach ennmhgtelient.
3 Trackbacks
[…] Content designer […]
[…] Content Designer […]
[…] Using Content Designer […]