Welcome to CO-SENDER! Here are some instructions and tips to make your journey smooth and easy.
Create new Account

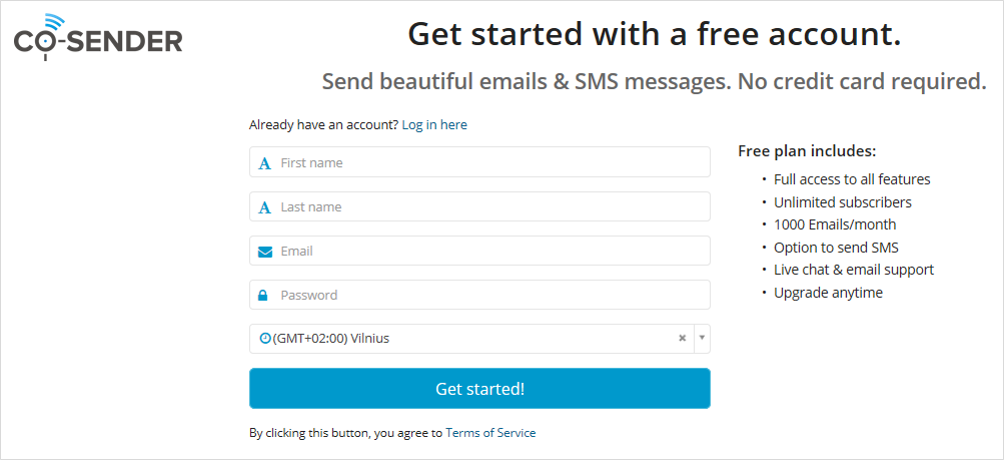
- To create a new account, press here and select “Create new account”.
- Fill in the form and you are ready to go!
Create new User
To create a new user, just click on your account name in the top right and select “All Users”. Now click “+ Add user“, fill in required fields for the user and save your entry by clicking “Save”. Invitation to join your account will be sent to the new user’s email.
Create a subscriber list
You can create a subscriber list by pressing “Create subscriber list” on the “Subscribers” page, filling in all the needed information, and adding subscribers one by one. Also you can import subscribers data file with a list of subscribers formatted according to requirements.
Create a campaign
Currently, you can create two different types of campaigns – an email campaign or an SMS campaign. To create a campaign you will have to select a subscribers list, put it in the campaign information, compose your message, then either launch the campaign immediately or schedule it to begin at a certain date and time in the future.
Payments
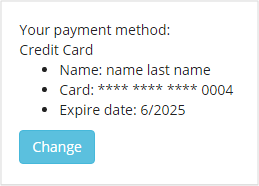
CO-SENDER uses the pre-paid method, which means that a plan comes takes effect once you pay for it. Payments are performed regularly each month, on the same calendar day of the month. A plan can be purchased at any time and will become valid immediately after the expiration of the current plan.
Changing plans
You will start your subscription with a Free plan.
- Free plan can be changed at any time, and it will be changed instantly.
- All plans last for a defined period of time, except for Free plan, which doesn’t have an expiration date.
- For a paid plan, you can choose a plan one month in advance.
- Any plan can be ordered for an Account, except the one that is already in effect.
- All users can view available plans, but only the Account administrator is allowed to order them.
- The message allowance depends on the plan and can vary greatly between plans.
Purchasing Add-ons
You can purchase add-ons by going to “Account settings” and selecting the “Get Add-ons” option. Add-ons will allow you to expand the messaging allowance provided by your current plan for an additional payment. After selecting and purchasing an add-on, the information about it will be appended to your plan details, and the message count will be updated accordingly.
Add-ons will be active until the plan they are added onto expires. Only an account administrator can purchase add-ons. Every time you buy an add-on, you will be charged a single instant payment. Once your plan expires and another plan starts, the new plan will not have any of your previous add-ons. Only specific add-ons are applicable to a Free plan!


That’s a wehlgtlou-ht-out answer to a challenging question
Adomas test