Canceling Subscription

To cancel your subscription, click your account name in the top right of CO-SENDER, select “Account Settings” from the drop-down menu, and then click on the button “Cancel Subscription”.


Click Here and watch Plans and Add-ons video tutorial


Cancel_Subscription

Warning message will open up asking for your confirmation. If you are sure that you want to cancel your subscription, confirm this by clicking “Cancel Subscription”. Please note that your current plan will still be active until it expires.

Image Gallery

Image Uploading and Editing

When designing your Campaign, you may find yourself needing to insert some images and, consequently, also perform some image editing. For this task you don’t have to look any further than CO-SENDER’s built-in Photo Editor. The Photo Editor has quite a few very handy image editing tools, such as image cropping, changing image orientation, photo filters, text overlays, and other useful tools.


Click Here and watch Using Content Designer video tutorial


  1. To edit an image, click on “Edit” icon on a chosen content block in Content Designer:
  2. Content_Block

  3. To upload and/or select an image from Image Gallery, click the “Browse” button in the editing pane on the right. Alternatively, if you are using a pre-designed template with images, go directly to “Edit Image” button.
  4. Edit_Image

  5. Now the Photo Editor window opens up where you can start editing the image. Select any of the editing tools by clicking on the icons at the top of the window.
  6. Photo_Editor_2

  7. Apply as many tools as needed and then save the changes. That’s it!
  8. Photo_Editor_1

Note that for your convenience, both, the original and edited, versions of the images will be saved in Image Gallery!

Understanding Bounced Subscribers

If you send campaign to subscribers with an invalid email address or a closed email account, you will get a ‘bounced’ message. These subscribers will be marked as “bounced” in your subscriber lists and the next time you send a campaign they will be excluded from sending your campaign. When a bounced subscriber is present in multiple subscriber lists, this subscriber will be marked as bounced in all your subscriber lists. Note however that this does not apply to Soft Bounces.

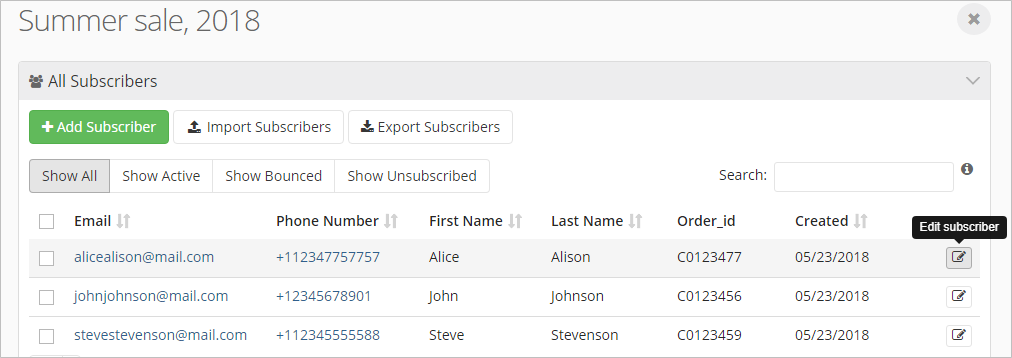
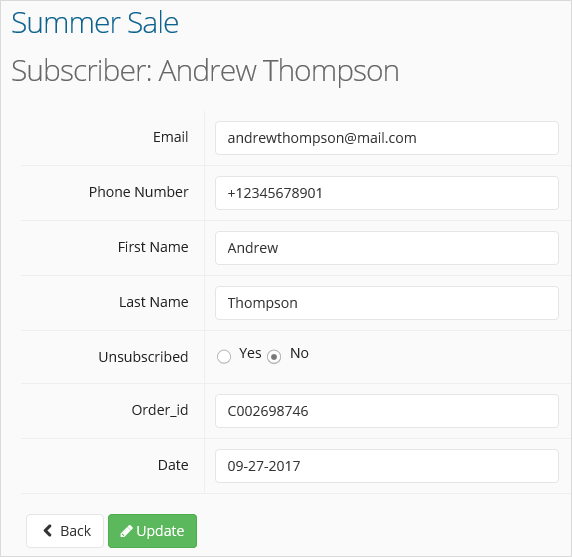
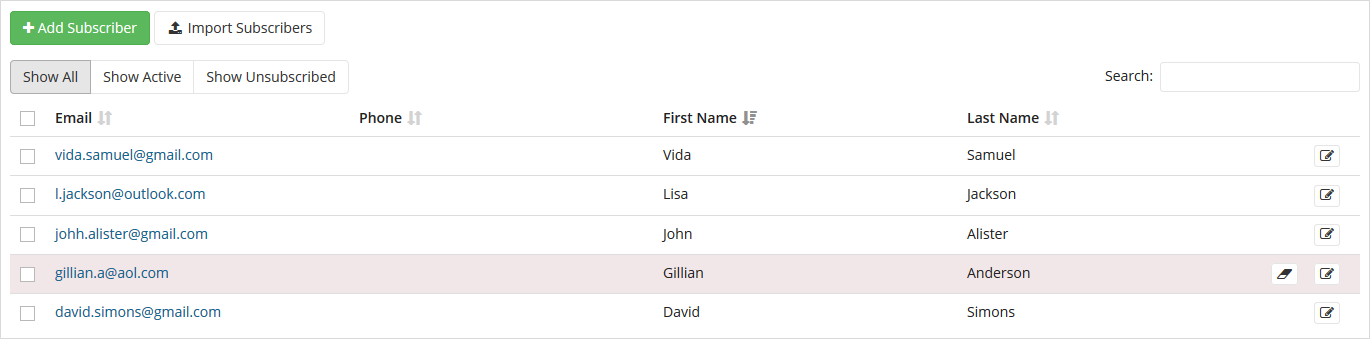
To remove the bounce filter from subscriber, you can update such subscriber’s email address and the filter will be removed automatically, but only for that particular subscriber list. You can also simply go to your subscriber list and click “Remove bounced message filter” button next to a subscriber you want to ‘unbounce’.

Bounced

You can always check the exact number of bounced messages for any finished campaign in your Campaign Reports. To view all bounced messages for a finished campaign, simply click on “Bounced” in chosen campaign report. Please note that bounced messages do not show up in campaign report instantly – it may take some time (up to a few hours) for them to show up.

If your bounce rate is too high, your account could be temporarily suspended. Bounced emails hurt your reputation as well as CO-SENDER’s, so it’s very important for all us to keep the bounce rate as low as possible, ideally as close to 0% as possible. Please update and clean your subscriber lists regularly to reduce the number of bounced messages. It’s always a good idea to use a double opt-in (or confirmed) process for your new recipients, because this will prevent any mistyped or fake email addresses from getting into your subscriber lists.

Also note that as a company policy, we do not issue refunds for unused sending limits if your account was suspended because of high bounce rate.

Uploading Attachments

You can upload attachment files to your email campaign and share them with your subscribers. Currently supported attachment types are .pdf and .txt.

Note that CO-SENDER offers free file hosting instead of traditional email attachments to increase your campaign deliverability and the speed of delivery. This means that the files you attach to your campaigns are stored on our servers, and when a recipient clicks on attachment link in your campaign, the file will be downloaded directly from our servers.

To upload your files, in the “Content” step of campaign creation select “Attachments” tab, and simply drag and drop, or click in the attachment area and select your files to upload.

Attachment

You can upload up to 20 attachments, but please note that the total size of attached files should be 20 MB or less.

Verified Account

There might be a slight delay before a newly created CO-SENDER account can activate and send campaigns. To make sure an account meets our Terms of Service and complies with international Anti-Spam Laws, each and every newly created account will be reviewed by our team. This helps us to maintain great deliverability for everybody who uses CO-SENDER ecosystem and to ensure we are only sending permission-based messages. Once your Account gets Verified by our team, you can send campaigns without any delays and restrictions.

Using Click Activity Tracking

How do you know if subscribers like the way you offer your services? Which portion of your campaign message is mostly liked by the recipients? Are they attracted to those message areas where you expected them to be or not? Click Activity Tracking helps you to answer these and similar questions by allowing you to see if your subscribers clicked the links in your campaign message and the percentage and number of unique clicks on each link.

Just go to “Reports”, choose a campaign report, and click on “Preview” button to open the campaign preview window. Set “Click Activity Statistics” to “ON”, and if your campaign has any URL links in it you will see something like this:


Click Here and watch Campaign Reports video tutorial


Click_Activity_Statistics2

Click Activity Statistics displays the number and percentage of unique clicks for all clickable (the ones that have an URL link added to them) buttons, images, social network icons, or any selected text in your campaign. This allows you to identify those links that attract more clicks in your campaign, and act on this accordingly.

Note that Click Activity Tracking is available for Email, AB Test, and Email API campaigns.

Unique Click

Unique Click means that if a subscriber clicks several times on the same link in a message, this will be regarded as one click only.

Editing Subscribers

UTF-8 Encoding

You can import subscribers to CO-SENDER using a .xls, .xlsx, and .csv file. To make sure that all special characters in your file are recognized and displayed the same way as you see them, these files must be UTF-8 encoded – which normally they are. However, if during your file submission you can’t see the subscriber data mapping window and your file is marked with red “X”, then most probably it’s because of the file encoding problem.

ImportError

Encoding as UTF-8 can be done when saving your file. Every version of MS Excel is different, therefore exact UTF-8 encoding steps will be slightly different depending on the Excel version you are using, and also on whether you are working on a Mac or PC. But the basic steps required for this are when saving your file (or “Save As” when editing existing file) is to navigate to Tools > Web Options > Encoding, and then select “Unicode (UTF-8)” from the “Save this document as” drop-down menu.

If your Excel version doesn’t support this encoding function, you may want to use a free OpenOffice application or Google Spreadsheets. These both allow files to be saved as UTF-8 encoded .csv or Excel files. Numbers for Mac is a paid alternative for Apple Mac users.